Home Server Client Installation for Windows and MAC
Step 1: Download and install the client application
Windows 7/8: openvpn-install-2.4.7-I607-Win7.exe
Windows 10: openvpn-install-2.4.7-I607-Win10.exe
MAC OS: Tunnelblick_3.7.8_build_5180.dmg
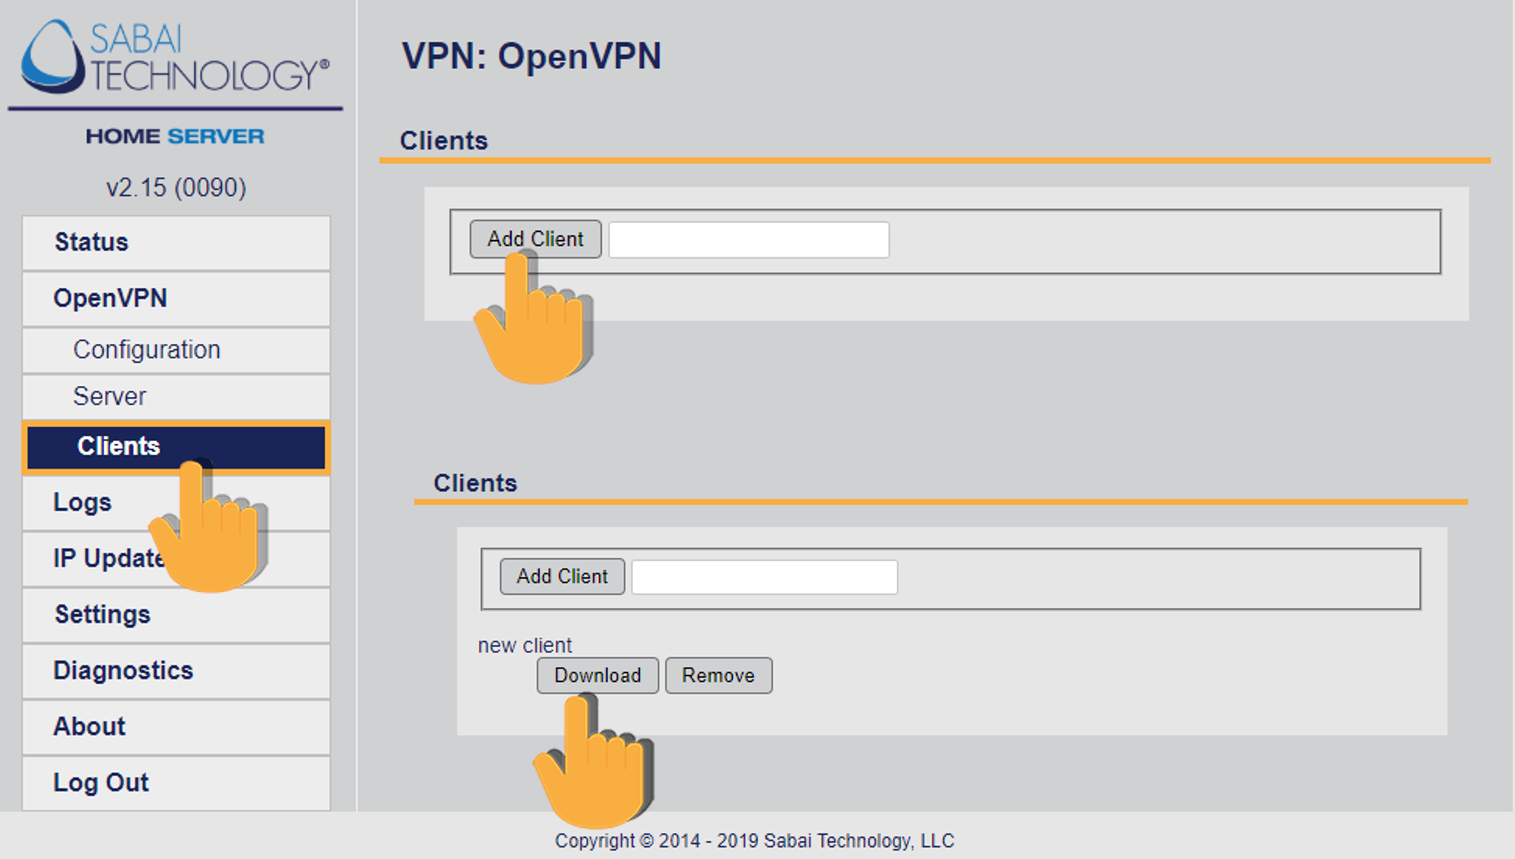
Step 2: Download your client files from your Home Server
Download the Home Server client files you created during setup of your Home Server.

Step 3: Import the client file into OpenVPN or TunnelBlick
Windows: Run the OpenVPN client application. An icon will show in your task bar.
![]()
Right click on the icon and click Import File

Find the client file in step 2 and open. The file will install automatically.
MAC: Open the TunnelBlick application.
The icon will show in the top right area of your task bar.
![]()
Find your OpenVPN client file and drag it to the TunnelBlick icon.
The file will load automatically.
Step 4: Start your Client
Windows: Right click the OpenVPN icon in the task bar and click Connect. The icon will turn to yellow when it is connecting then to green when it is connected.
![]()
MAC: Double click the TunnelBlick icon to start the connection. The icon will go dark when it is connected.
![]()
Step 5: You are connected to your Home Server.
Check your location by going to www.tracemyip.org. Your home IP address should be your server location IP.
